6 Sourdough Tips for Using & Maintaining Your Starter
Whether you use a sourdough starter regularly or only occasionally, these six sourdough tips will help take some of the mystery out of the process. Get clarity on the steps to maintain your starter, feeding schedule, and discard ideas to be able to relax and enjoy your sourdough journey.

Have you started down the sourdough path but aren’t sure you want to be a ‘slave’ to your sourdough starter?
Even if you’ll only use your starter occasionally like me, I’m proof that you can have regular success baking with sourdough – and it’s worth it for that one-of-a-kind flavor and the health benefits.
When I started my sourdough journey I had visions of turning out great breads on a weekly basis using just the wild yeast that hovers around us.
(This, by the way, completely freaked my teen daughter out- she was always asking about how that works and if we’re “killing” them when we cook the bread. Which, I guess, we are…)
I had read about the health benefits of sourdough and even that some people think all our grains should be soured before consuming. I knew that we loved the flavor of sourdough bread.
And if you’ve been reading here long, you can guess I liked the idea creating my own bread starter and not always relying on store bought things- how frugal is it to not have to buy as much yeast?
However, as I created, maintained, and cooked with my own sourdough starter I discovered some things about me, my family, and sourdough:
- It takes a lot of planning time. Many recipes have you start the night before, which in all honesty, just doesn’t happen for me very often. Even though I perfected a quick, one day easy sourdough artisan loaf which can be made on a weekly basis, you have to feed the starter to make sure it’s good and active, which takes hours.
- A basic sandwich bread is harder to find. After many failed attempts (read: brick-like loaves), a sourdough sandwich bread like our 100% whole wheat sandwich bread eluded me. (EXCITING UPDATE: I developed this soft sourdough sandwich bread which you can choose to make with all whole wheat!
- There are some recipes that just. don’t. work. with sourdough. We’ve tried the sourdough cakes and cookies and we just don’t care for the sourdough tang.
- Out of sight, out of mind. Sometimes weeks (months?) will go by where I haven’t even thought about sourdough or the starter languishing in my fridge.
All this has lead me to the conclusion that I am an occasional sourdough user. I want to be able to bake with it once every couple of weeks or so, but not to be a slave to it.
If you’re like me, I’ve come up with some tips that make it possible to have a sourdough starter, store it, wake it, and bake with it whenever you want.
6 Sourdough Tips

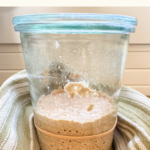
1. Use an online guide to grow a starter. I made my original starter using these steps. It took 7 days and worked perfectly. I’ve read that some people have trouble and resort to buying starter, but at $10+ bucks a pop, I’d try these steps an awful lot of times before buying anything. (Growing Tips: make sure to have clean jars and tools, a warm (70-80 degrees) spot – or wrap with a towel like I show above, and be able to be consistent in your discards and feeds during the whole 7 days.)
NOTE: do not use the discard from the week of growing your starter in any other recipes – this is the only time you will actually throw away the discard because the balance of good to bad bacteria isn’t established yet.
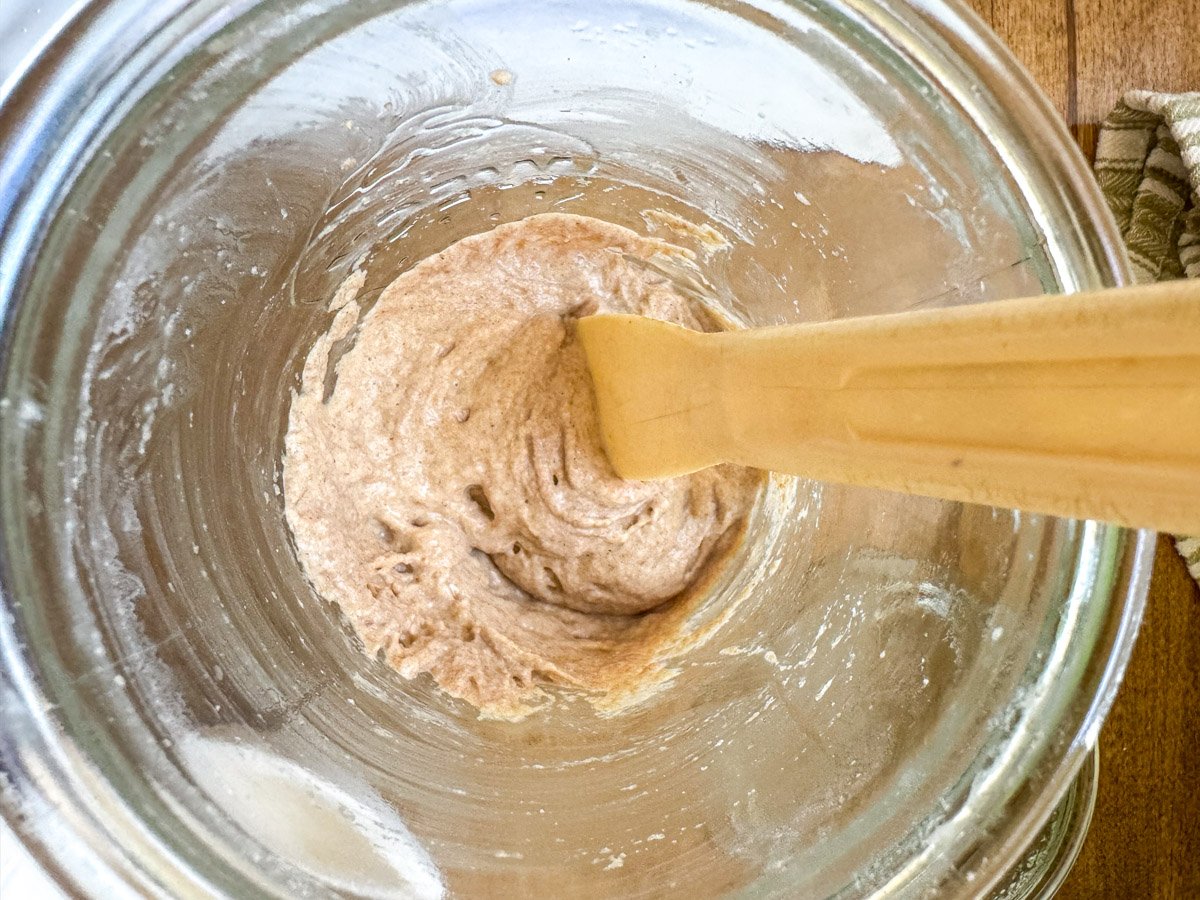
2. Don’t try to make bread with your new starter right away. No matter if it looks bubbly to you, it needs to be fed and grow for at least a month, and maybe more, before it will be strong enough to raise a loaf (the key is if it doubles in size 4-6 hours after feeding). Make things like waffles, or crackers to use your starter as it’s growing before trying a bread recipe. (Tip: these are called “discard” recipes and you can find a lot more here as well as in tip #6 below.)
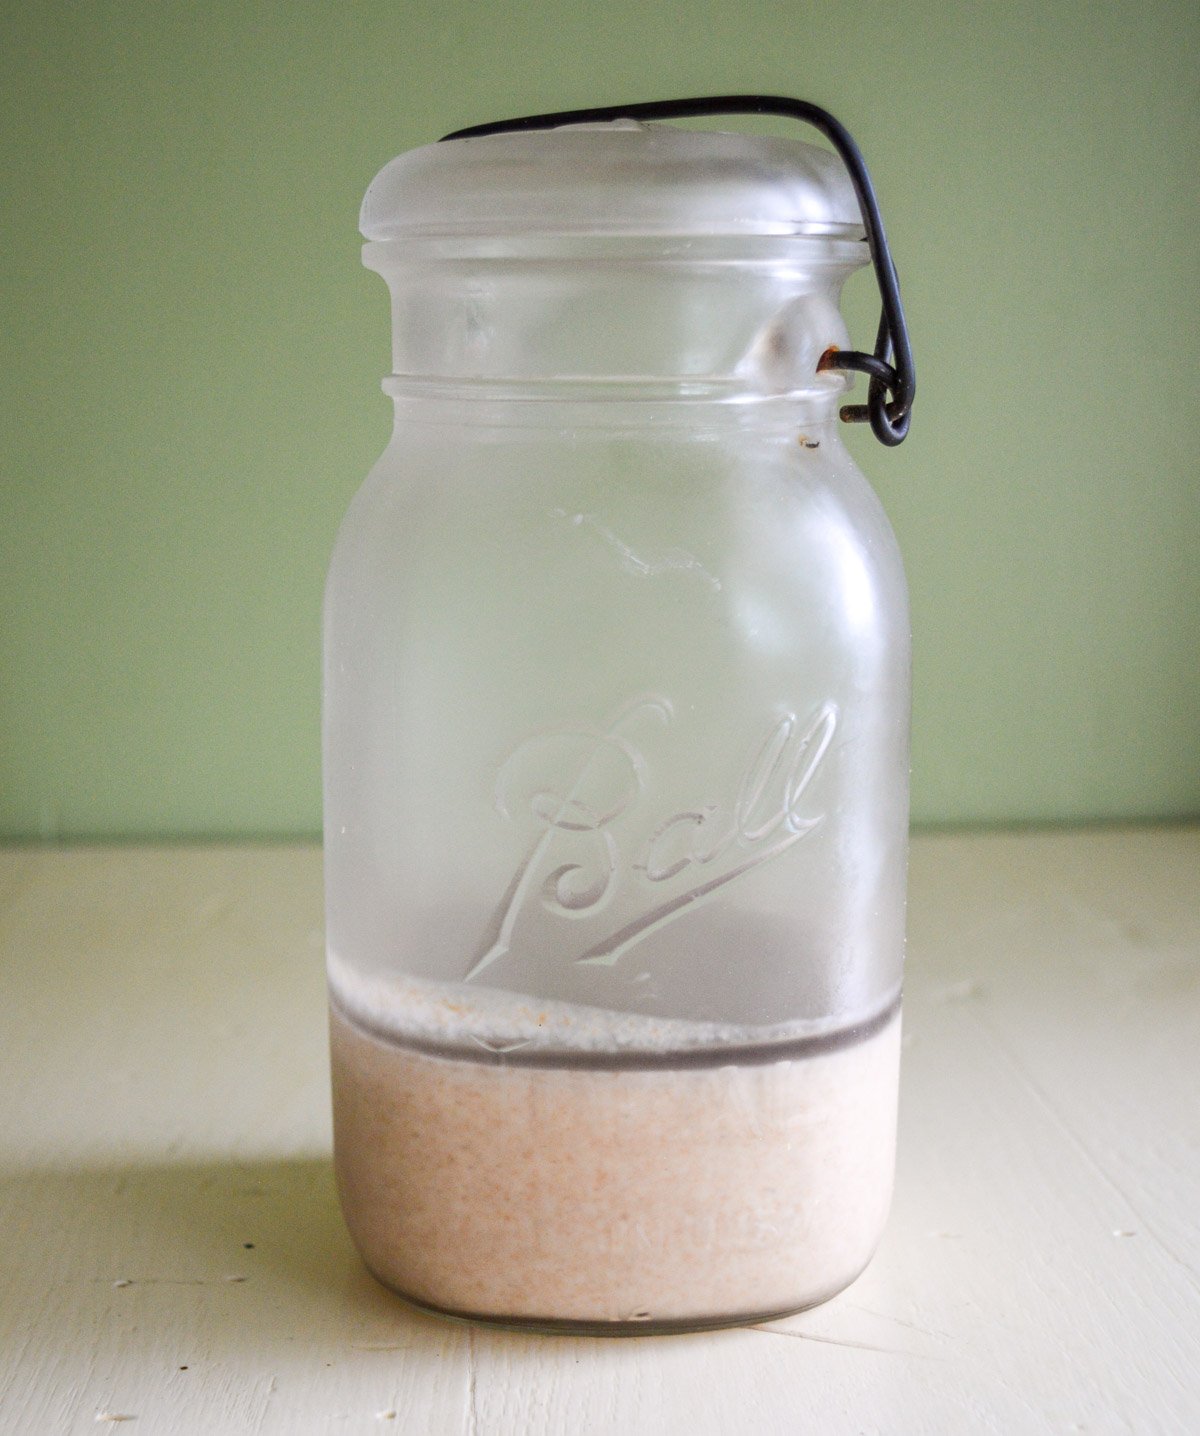
3. A once-a-week feeding is best, but every two weeks is okay, too. Keep it at room temperature for 12-24 hours after feeding and then place it back in the refrigerator (this slows the feeding, but doesn’t stop it completely). When it’s in the fridge, keep it in a quart jar with the lid on the top, but not screwed down, and when it’s being fed, use a bowl or jar with a muslin cloth over the top (or other lid that’s not airtight) and put it in a warm place- like the top of the refrigerator or near a warm light (if your kitchen is colder).
However, sometimes I forget about the starter in the fridge…
4. Surprise! It doesn’t die easily. Thankfully, sourdough is resilient. One time it had been almost two months (I think around the holidays) and I really thought I’d killed it, but I saw bubbles 12 hours after one feeding, so I fed it twice more (over the course of three days) and put it back in the fridge. Voila! Wonderful starter again.
How to revive a forgotten starter: Fish it out from the back of the fridge and let it warm on the counter for an hour or two. Then dump 1/4 cup of the starter into a clean bowl or jar and feed it 1/4 cup warm water and slightly less than 1/2 cup of flour (if weighing, use equal amounts of 50 grams each). Place a rubber band at the starting level or make a note so you can tell when it’s risen.
What about the blackish water on the top? This is normal and is called the “hooch,” It’s a result of the bacteria in the starter needing to be fed more. You can pour it off for a less sour starter or stir it in to increase the tang (however, if it’s been months, you should pour it off). If little white things are floating in it, it’s just particles from the starter – I’ve never had mold form, so it is rare. If you have, it could be the result of contaminated equipment and you should start over growing a starter.
*See below for a reader recommendation for freezing your starter when you need a few months break!
5. Don’t throw away starter from an established starter. Many sourdough guides say to throw away almost all the starter and feed only the 1/4 cup or so that remains. I suppose I don’t need to tell you that I would NEVER do this- there’s no way I could throw away perfectly good food (or potential food). And I’m here to say you don’t have to! Just plan to use some of it in a recipe, and feed the rest.
But if you don’t have time to make anything- go ahead and feed all the starter without taking any out (just increase the amounts mentioned above, so instead of 1/4 cup starter to 1/4 cup water and 1/2 cup flour, you’d use 1/2 cup or even 1 cup).
It’s OK, I’ve done it many times and I’ve kept my starter alive for years. No way am I going to all this effort and then throw the stuff away!

6. My favorite sourdough tip? Use your starter discard to make easy recipes like these incredible waffles, as well as the other recipes like bagels, batter bread and crackers. SO good, healthy, and takes care of the growing starter problem without trashing it.
However, if you’re not interested in making recipes with the discard, you can always keep just a small amount of starter – even a couple tablespoons is enough to keep and use to grow a starter for recipes when you do want to bake.
*Reader Tip: Freeze Your Starter!
“You can freeze your starter when taking a break. I have successfully frozen mine for up to 7 months. I winter in the south and summer in the north. I like to make sourdough bread in both locations. I freeze my starter in a couple of zip lock bags and put into a glass canning jar and leave for months. When I get back, I just thaw on my kitchen counter from the freezer and pour into the jar and start feeding. It bounces right back! No need to start all over!” -Louise
More Sourdough Tips & Recipes
- Read how to grow, keep, and use sourdough here.
- See all my sourdough recipes here – including lots of options for your discard, like my favorite sourdough vegetable fritters.
- My viral, one day easy sourdough artisan bread.
This article has been updated – it was originally published in March 2011.