
Cheesy Sourdough Bread (No Knead Batter Bread)
Cheesy sourdough bread is an easy way to enjoy homemade sourdough without shaping or complicated steps. This simple batter bread is made in one day using sourdough starter, half whole wheat flour, and your favorite hard cheese for rich flavor and a soft, tender crumb. It’s a simple, reliable loaf that fits easily into everyday baking and makes amazing toast.
✩ What readers are saying…
“Thank you for this lovely and simple sourdough recipe. I use this recipe often and it turns out excellently every time (today I’m trying it with a smoked cheddar and my house smells divine)!” -N
Some links in this article are affiliate links and if you click on them I will receive a small commission at no cost to you.
A batter bread (a yeast bread that doesn’t require kneading or shaping) is a super simple way to make yeast and sourdough breads. Plus it’s a perfect way to make a loaf of bread with a young sourdough starter that maybe isn’t strong enough to raise a traditional loaf.
Turning your starter into this delicious cheesy sourdough bread is a great way to have another winning recipe that uses your sourdough starter right along with our favorite easy waffles, tender English muffins, and can’t-stop-eating-crackers.
Why the obsession interest in sourdough? I think it’s kind of like growing vegetables from seed – it’s that “I did it all by myself!” thing. Growing a starter and keeping it alive seems very similar to growing seeds and keeping them alive until harvest, don’t you think?
I keep my starter in the refrigerator and feed it the night before I want to bake with it to get it nice and active for the morning. I’m sure you’ll want to read more tips for using sourdough and my easy guide to all things sourdough because you’re going to want to try this easy bread!
My biggest tip with sourdough is: remember with sourdough, time is key, so start early and let the dough rise fully.
My family loves this cheesy sourdough batter bread so much that my kids started requesting it after the very first time I made it, so I’m sure your family will, too.
Ingredient Notes

- Flour: You can use all unbleached white flour or half whole wheat like I have written in the recipe card. Using all regular whole wheat will result in a heavy, dense loaf, however you may be able to use all white whole wheat which is lighter in texture.
- Cheese: We’ve found this best with a strong flavored cheese, like sharp cheddar or pepper jack or even parmesan. Some people have used grated cheese instead of cubed to have the cheese more evenly distributed.
- Sourdough starter: It’s best if your starter is 100% hydration and fully active. If you keep your starter dryer (as I now do because I get a more consistent rise), you will need to add a bit more water to your dough, a couple tablespoons up to 1/4 cup, depending (you want a stiff dough, but one that’s still batter-like and not like something you could knead).
Can I use sourdough discard?
While the recipe I adapted this from called for fully active starter, I have found that this is a bread that will do well with a new, less strong batter and also discard, though one that has shown some activity.
However, one commenter said they had “used cold discard (let sit on the counter for an hour or so before using) and Tillamook farmstyle thick cut cheddar. My bread didn’t rise as much as yours before going into the oven, but it sure did once it hit the heat. Fantastic flavor and we loved the texture (moist tender inside with crunchy crust).” So maybe yes to a cold discard?
How to Make Cheesy Sourdough Bread
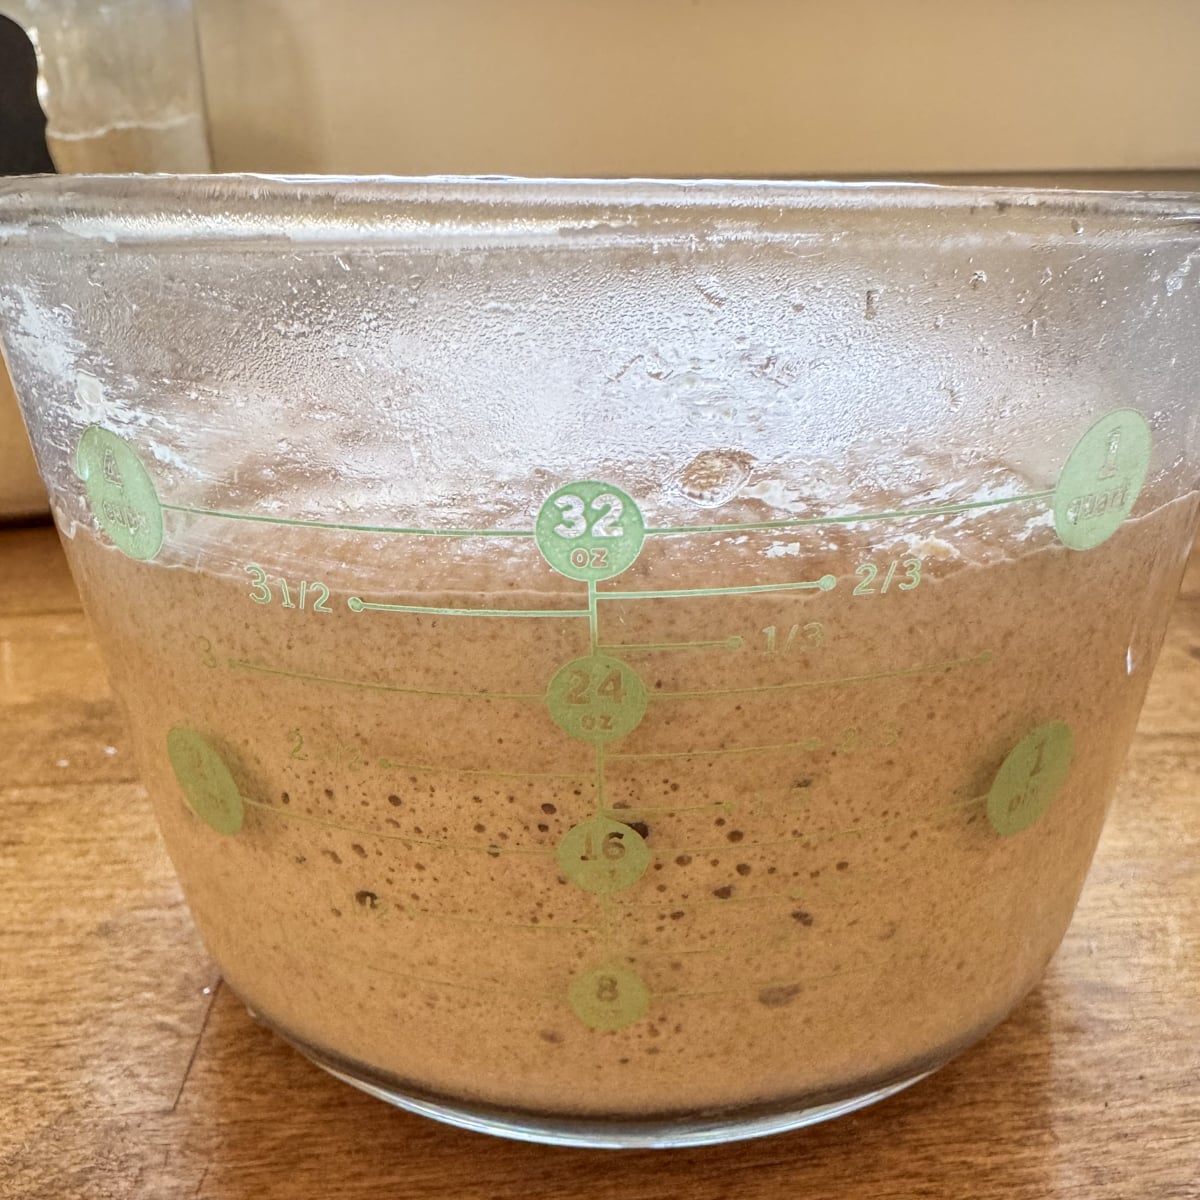
Starter: Use an active starter or try your hand at using an active or even cold discard that you’ve let come to room temperature.
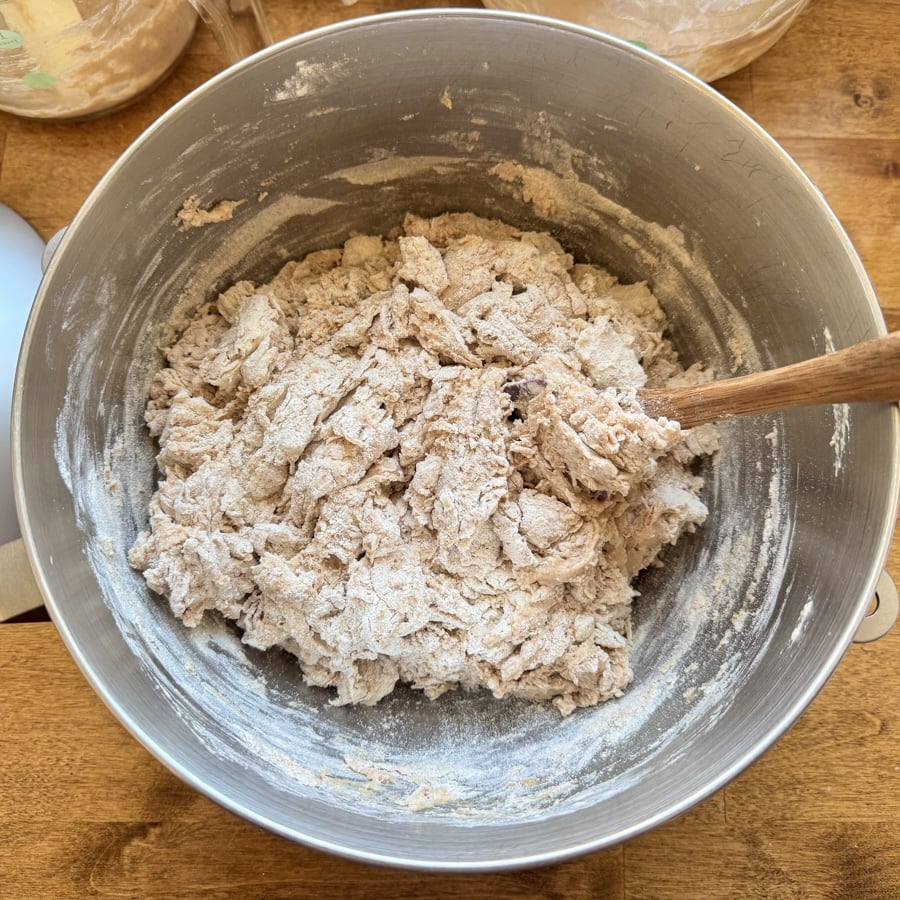
Step 1: In the morning of the day you will bake the bread, add all of the ingredients to the bowl of a large mixer and stir on medium speed for about 2 minutes, until thoroughly mixed.
What about autolyse (mixing the dough without the salt and letting it sit for a bit first)?
In the home baking I do, I’ve never noticed much of a difference between doing autolyse and not, so I don’t usually take the time anymore (especially because once I forgot to add the salt completely!).
Tools used: This is the Kitchenaid stand mixer I use for all my bread making and these are the metal measuring cups and spoons I prefer (SO much better than plastic!).
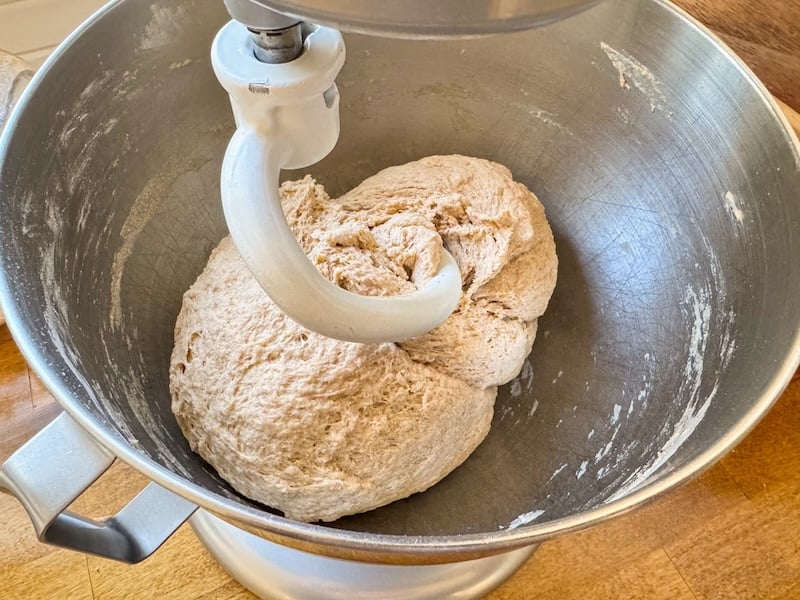
Step 2: Mix for another 5 minutes on low speed with a dough hook (I did have to add a couple tablespoons of water). Cover the mixing bowl for about 4 hours until doubled in volume.
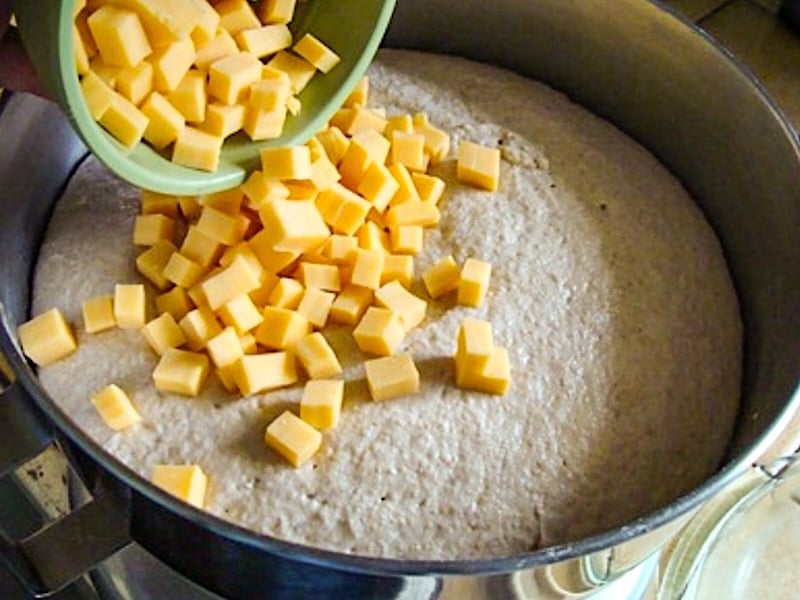
Step 3: When the dough has doubled, add 1 to 2 cups of diced cheddar cheese and stir on low until the pieces are distributed throughout the dough.
CHEESE TIP: It’s cheesier with 2 cups, but you’ll need to bake the loaves with a cookie sheet under the pans, because the cheese will ooze over the sides. No oozing with 1 cup, but less cheesy…so I opt for 1.5 cups.
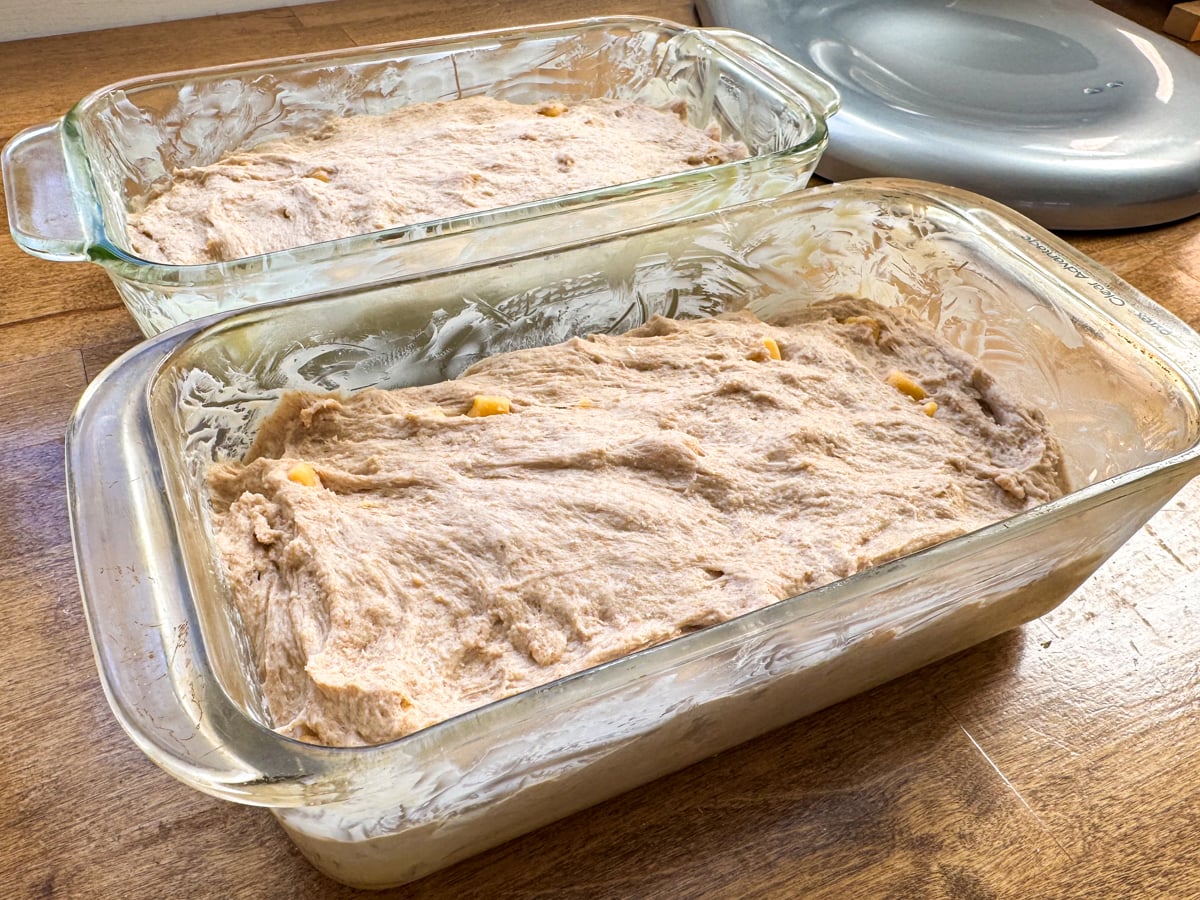
Step 4: Divide the dough evenly between two greased 8.5 x 4.5-inch loaf pans (they should fill about halfway). Cover and let rise for another 2 hours or so (the temperature of your kitchen may affect rise time).
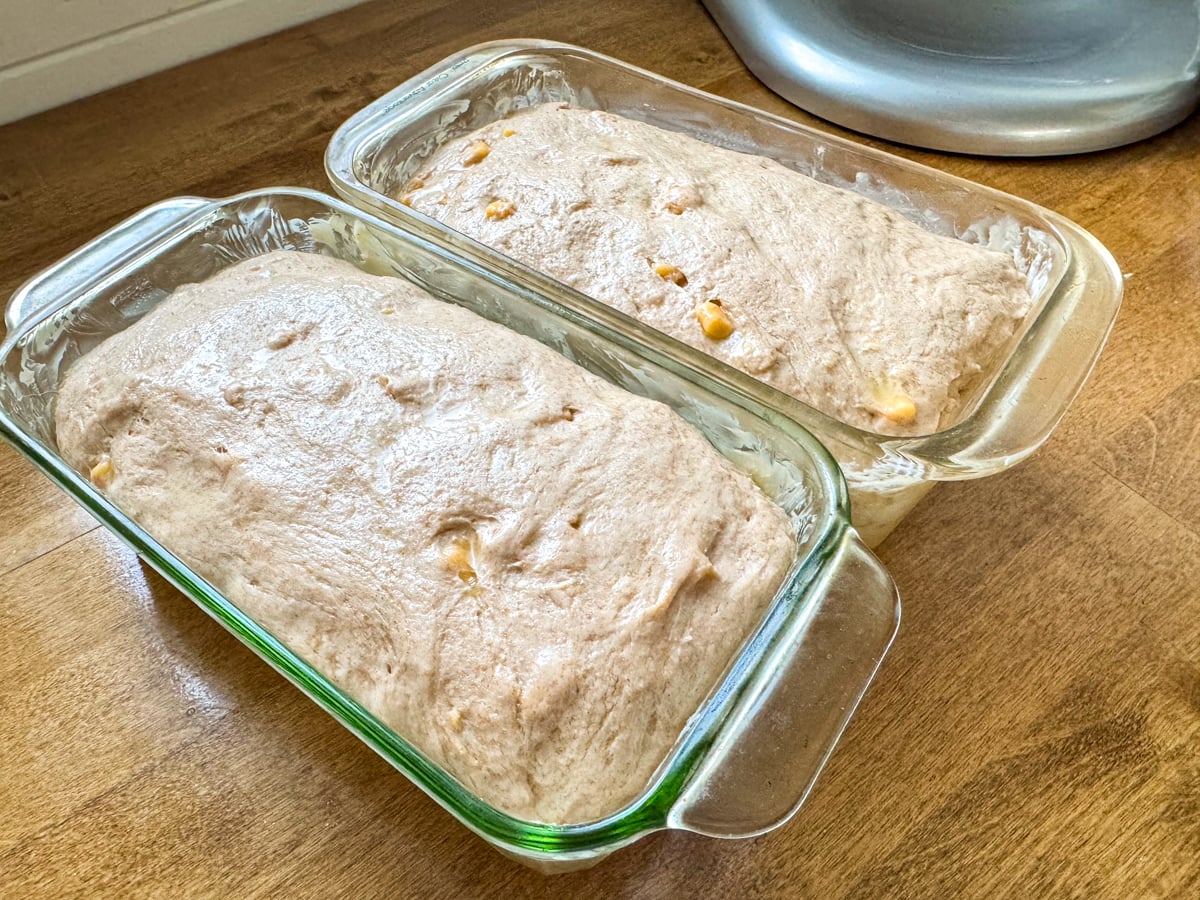
Step 5: When the dough is at (or almost at) the top of the pans, heat the oven to 400 degrees and brush the tops of the loaves with oil (I’ve found this helps the loaves brown evenly).
TIP: Make sure all the cheese pieces on top are covered by a bit of dough to lessen the amount that will ooze out in the oven.
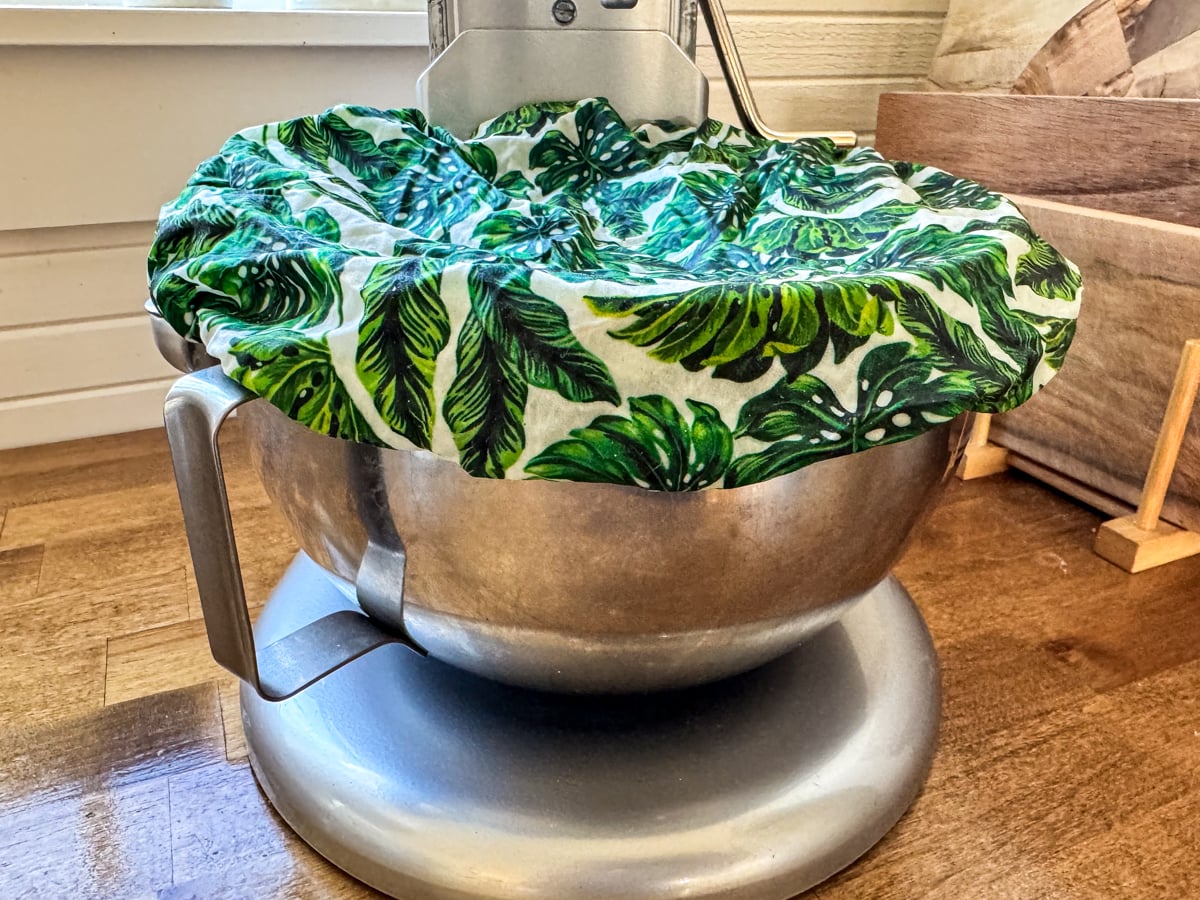
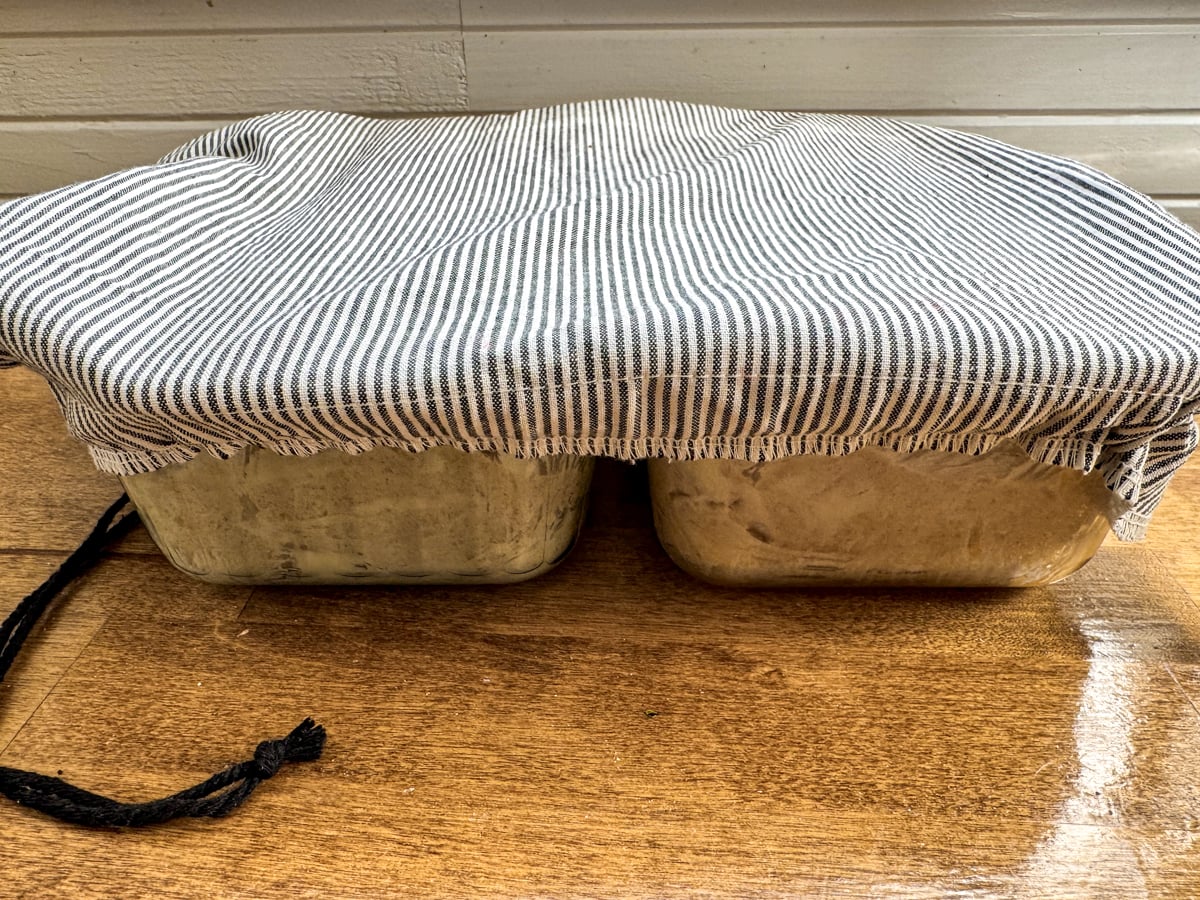
Tools used: I used reusable plastic “shower cap” covers like the ones here on Amazon for many years (literally had the same ones for almost 10 years documented here on the site!). However, when it came time to replace them I wanted something other than plastic so I now use a combo of beeswax bowl covers and homemade cloth covers with PLU lining similar to these (this is important because it’s this lining that holds in moisture so well like plastic does). You can just cover with a towel, but you will get a slightly hardened crust from air exposure. I actually prefer the PLU-lined covers for bread because even the beeswax cover lets enough air in that there is a slight crust on the top of the dough.
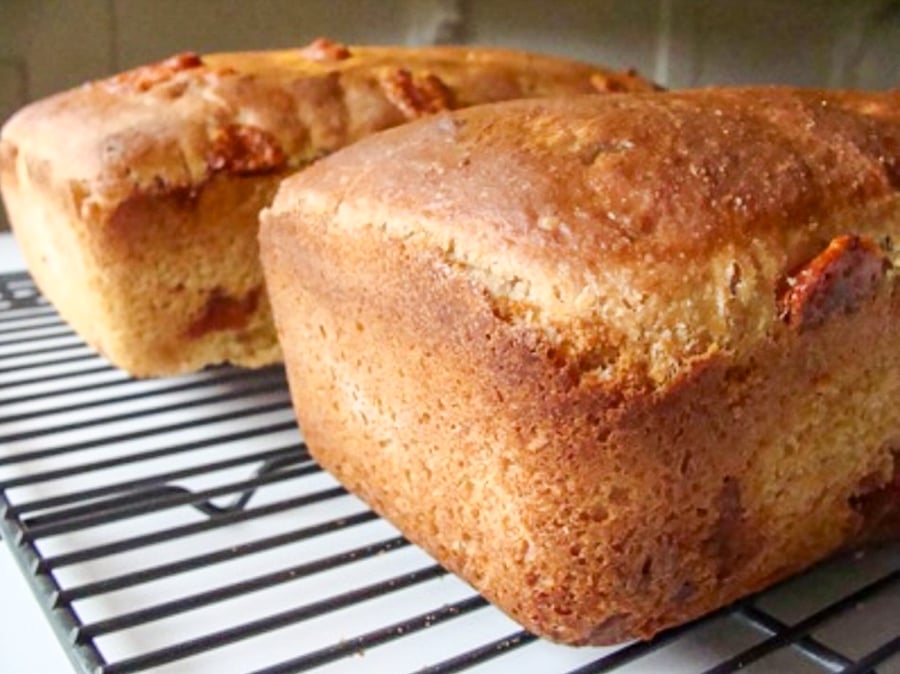
Step 6: Bake for 30 to 40 minutes, turning loaves as needed for even cooking, until nice and browned (and inside temperature is about 200 degrees). Let cool in the pans for a few minutes before turning out onto a cooling rack.
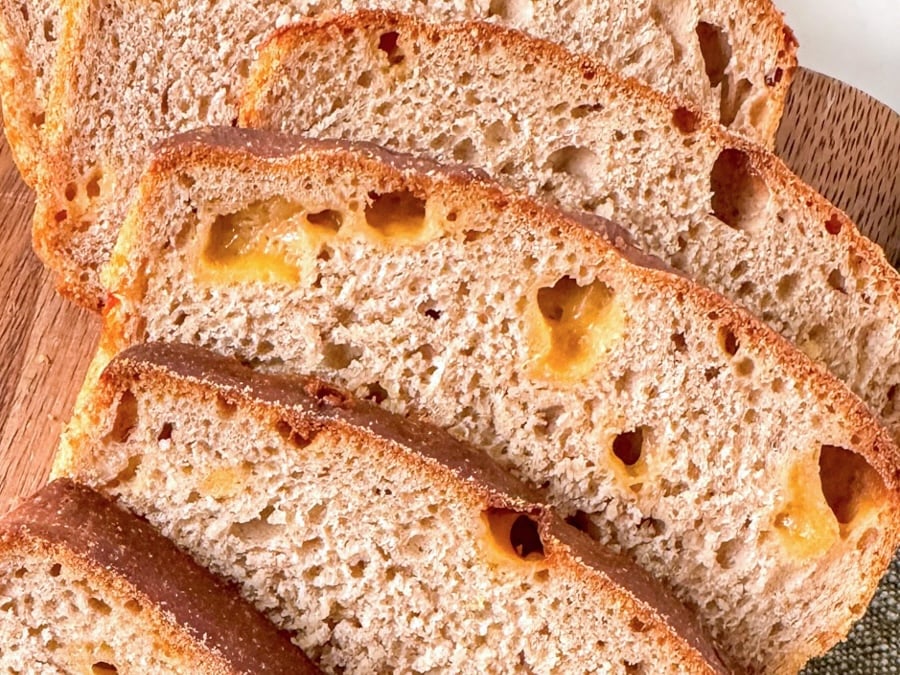
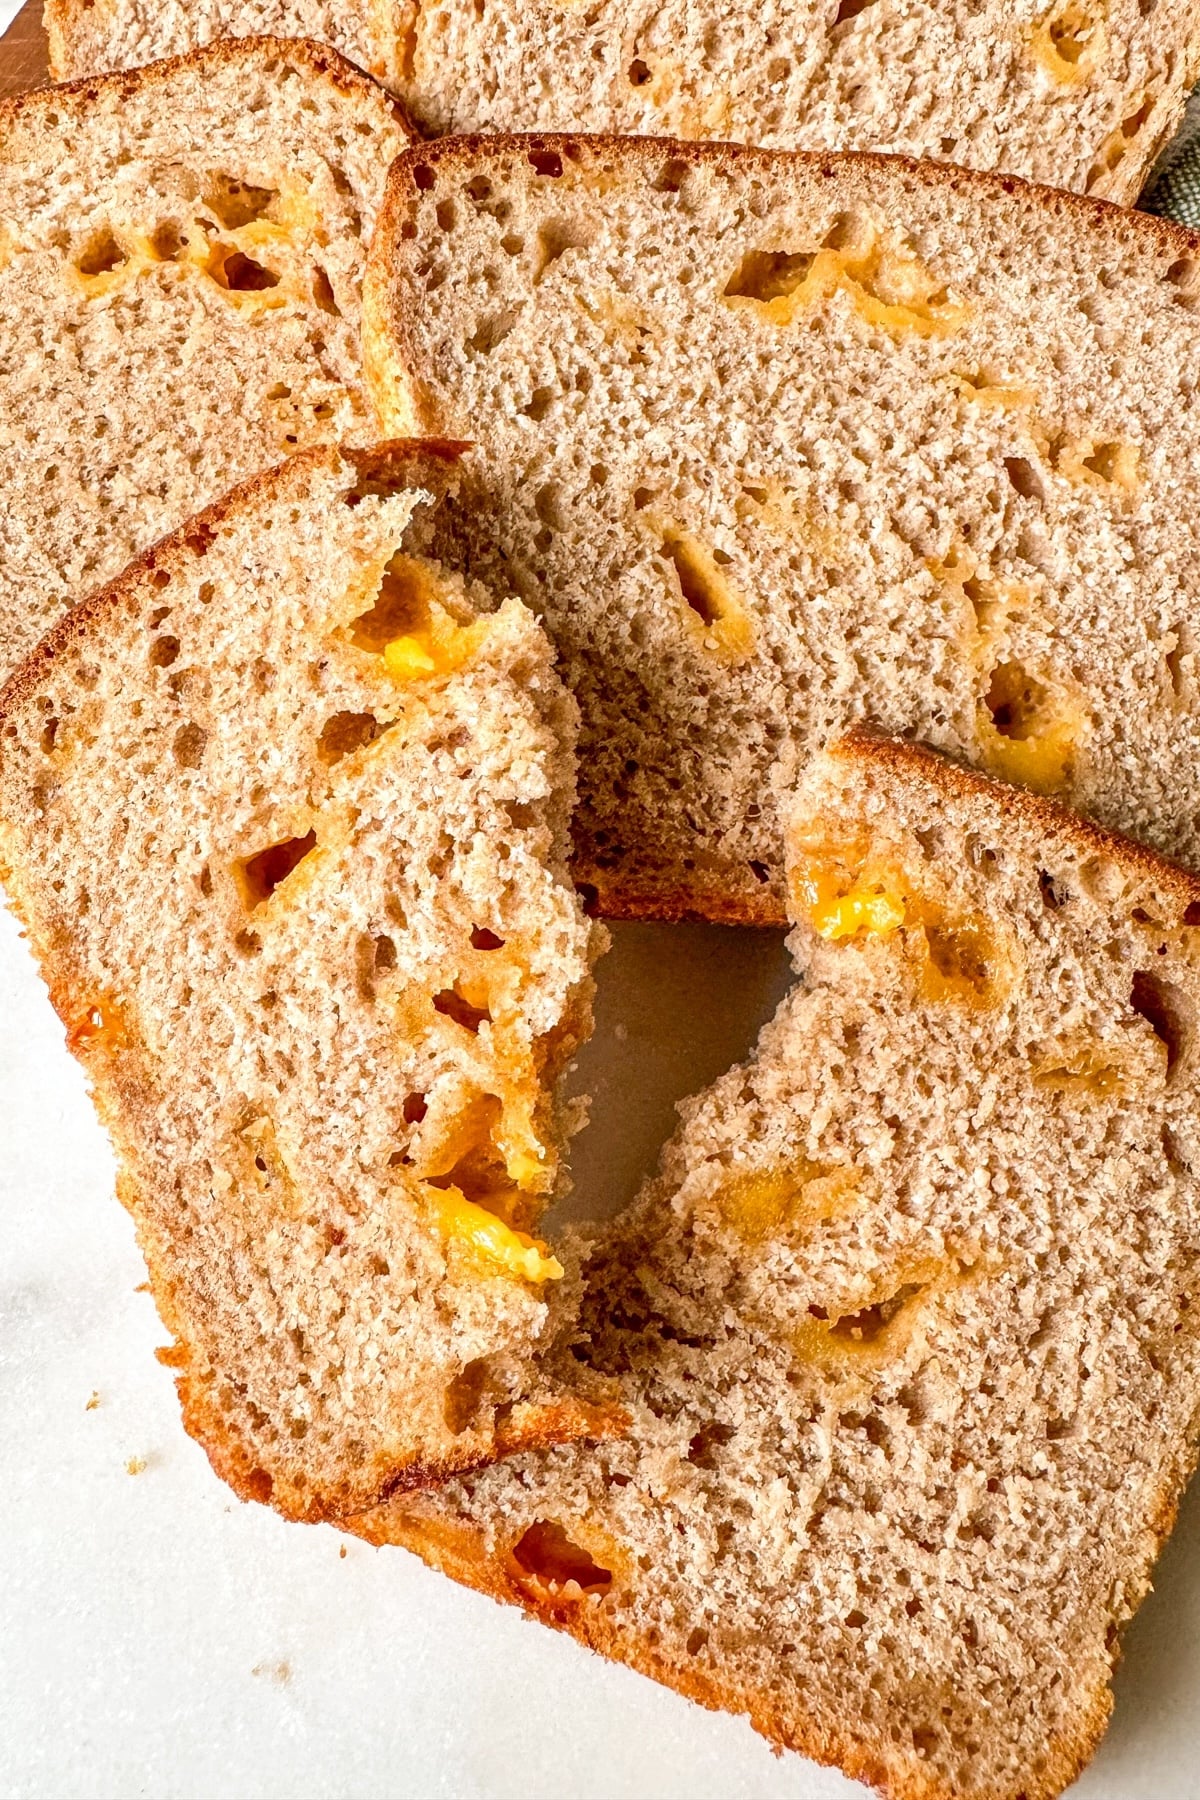
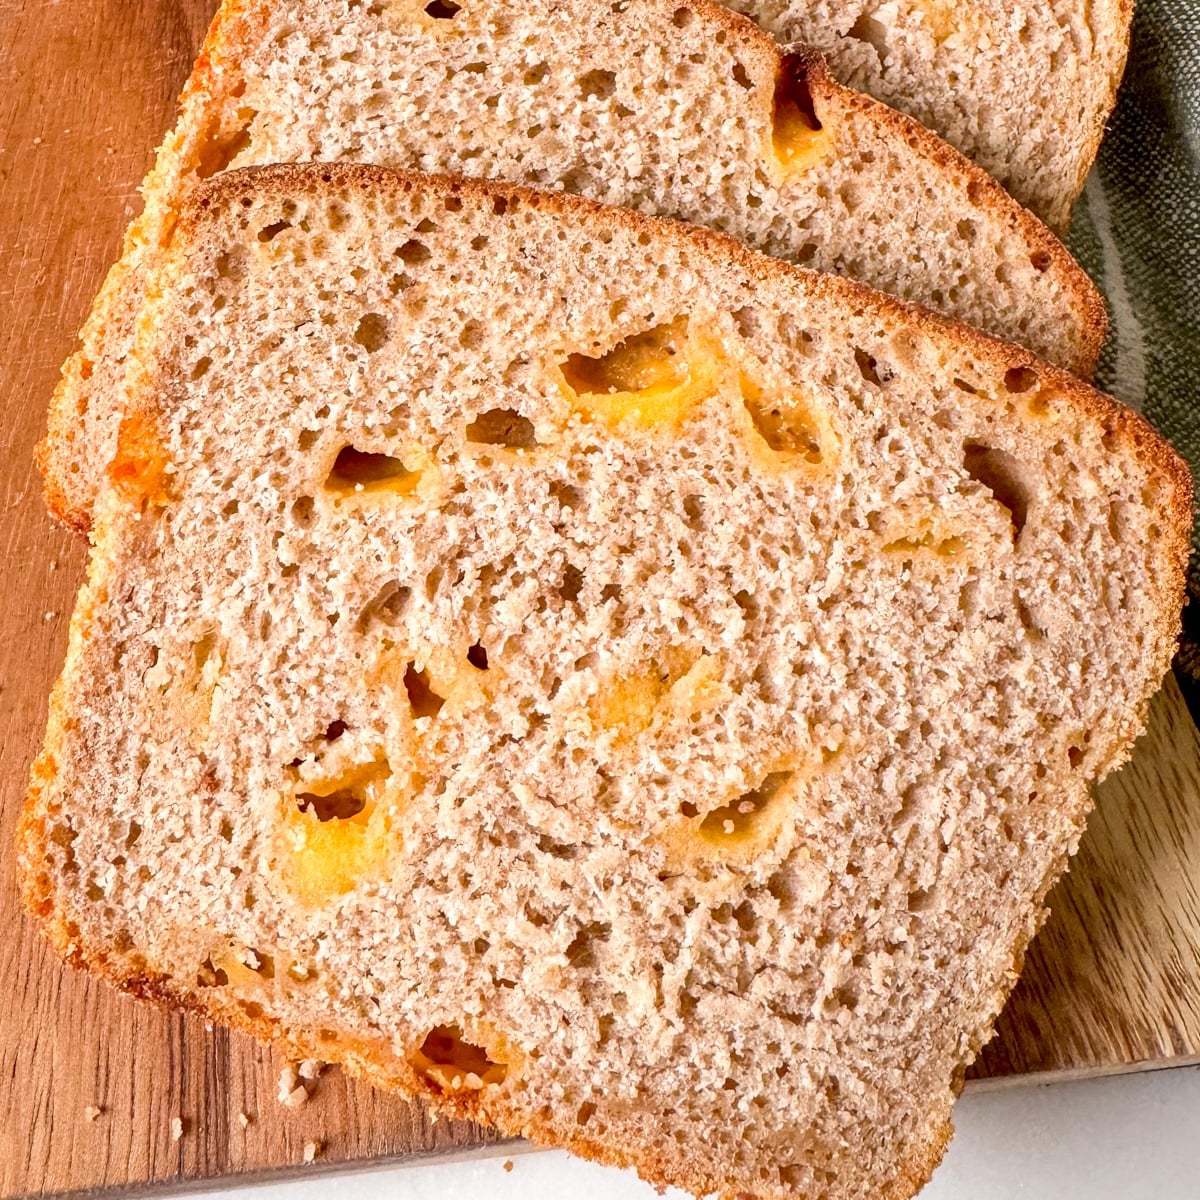
Slice and serve! The melty cheese is nice when the loaf is warm, but it’s easier to cut when fully cool, so you get to choose.
TIP: can you see the difference between the loaves baked in metal pan vs. a glass pan in the top left photo? The dark metal pan browned the loaf closest to the camera much more evenly and created a nice crust. Lesson learned: metal loaf pans work best with this recipe.
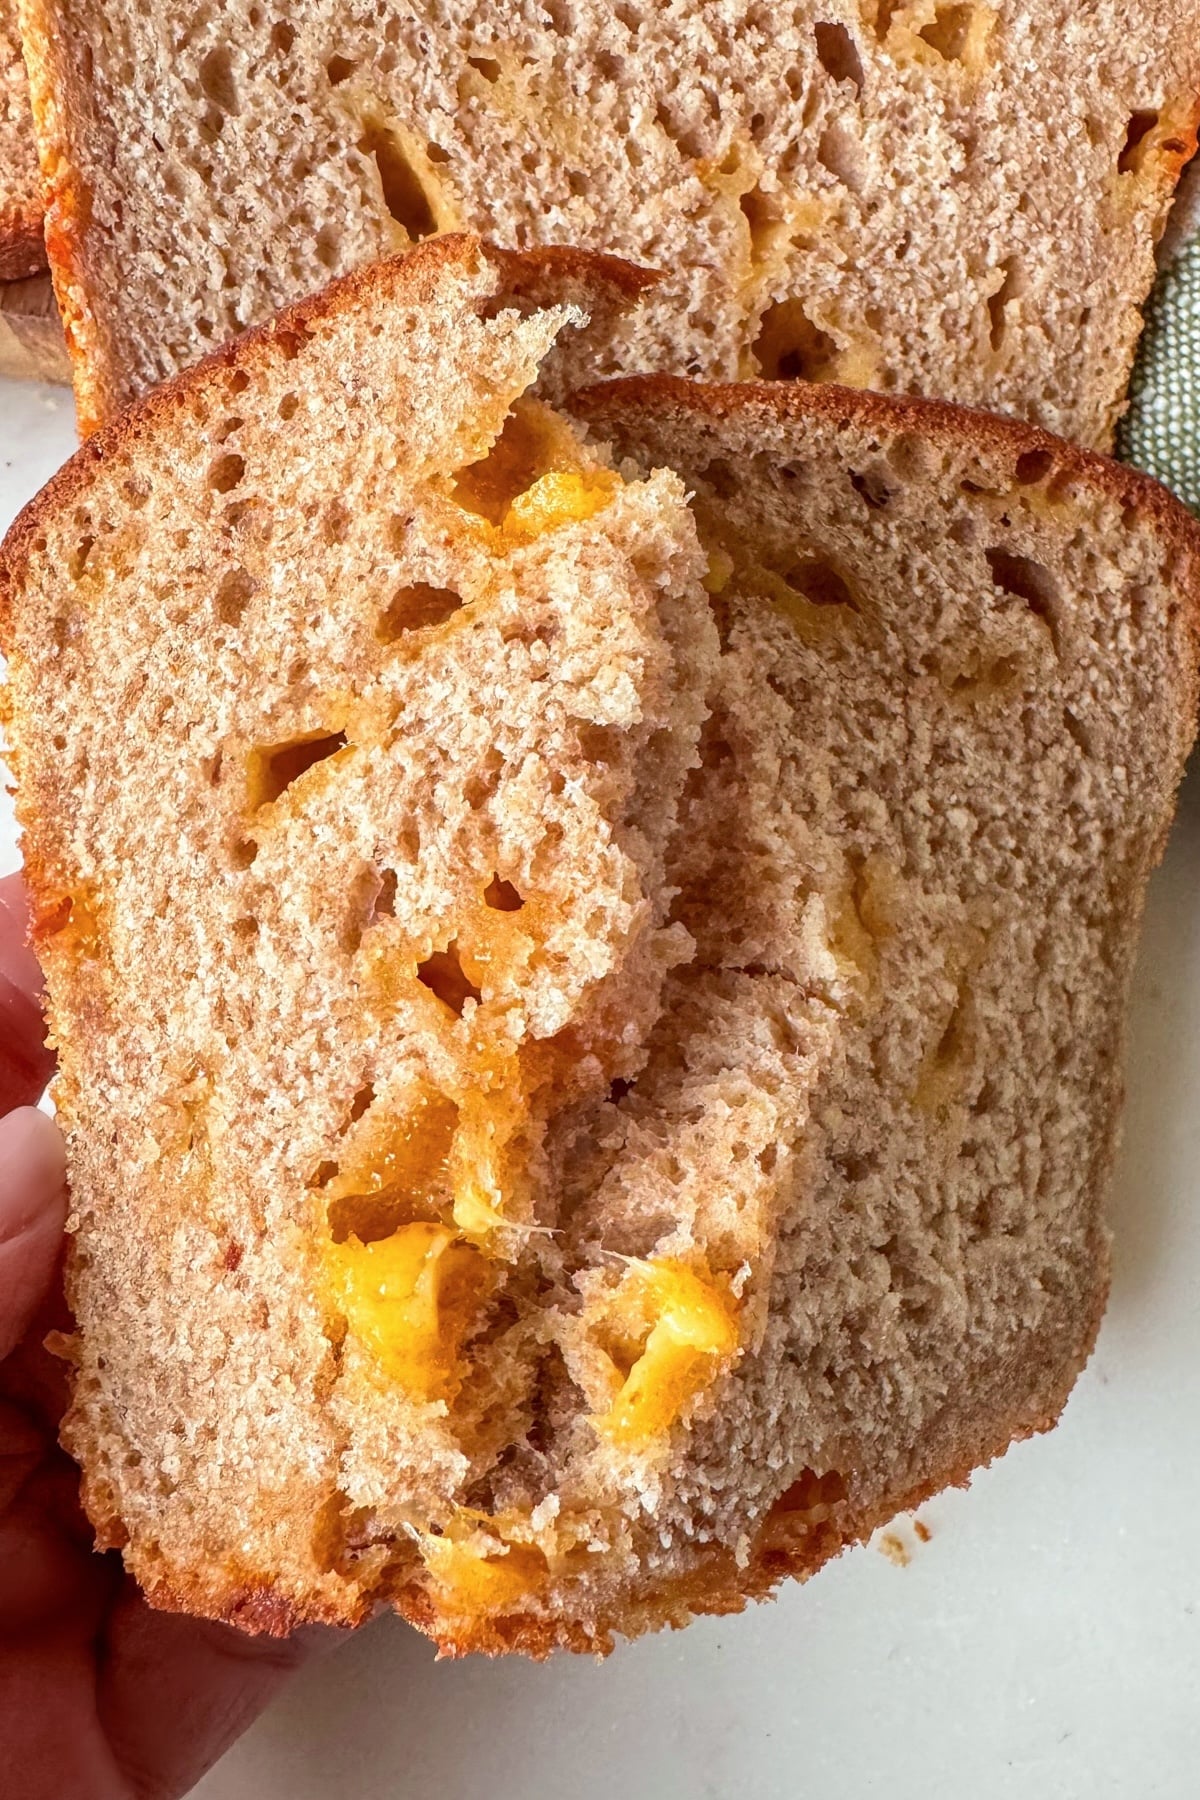
You’ll want to serve this bread warm or toasted – it’s a soft, chewy, cheesy heaven.
But I really think it shines when it’s cooled and then toasted! It’s perfect with homemade tomato soup or simple, family pleasing chef’s salads, depending on the season.
Reader Raves
“Great recipe, Jami! Used cold discard (let sit on the counter for an hour or so before using) and Tillamook farmstyle thick cut cheddar. My bread didn’t rise as much as yours before going into the oven, but it sure did once it hit the heat. Fantastic flavor and we loved the texture (moist tender inside with crunchy crust). Grandkids wolfed it down!” -Norma
“I made this once and my family (and work family for 2nd loaf) loved it! I did decide to grate the cheese for the second time I made the recipe, the pockets were good but we prefer the cheese evenly distributed. Did one loaf sharp cheddar and one Romano with 2 TBSP everything seasoning! Was (past tense because it’s all gone) amazing!!!” -Jaime L.
“Wow! This turned out perfectly! I don’t have a big mixer so did it all by hand, I added an extra 90 grams (3 oz) of flour to make it less sticky to work by hand, also used all white unbleached all purpose flour…This is a new family and friends favourite! And toasted it is heavenly! Wish I could post a picture! Thankyou for the amazing recipe!” -Janet N.
I hope you love this bread like I do – please leave a review and rating to let me know!
Want to save this?
Enter your email below and you’ll get it straight to your inbox. Plus you’ll get easy new recipes, gardening tips & more every week!
Cheesy Sourdough Bread (No Knead Batter Bread)
Equipment
- Two 8.5 x 4.5 inch metal loaf pans
Ingredients
- 2 cups sourdough starter (460g) (preferably active, but this bread can work with a new starter as well as a discard, just with slightly less rise)
- 1 cup water (230g)
- 1 cup lukewarm milk (230g)
- 1 tablespoons olive oil (14g)
- 1 tablespoons honey (23g) (or sugar)
- 2 ½ cups unbleached flour (345g)
- 2 ¼ cups whole wheat flour (325g) (if you can find white whole wheat, it's a bit lighter texture)
- 1 tablespoon salt (17g)
- 1 ½ cups diced sharp cheddar cheese* (200g) (or grated cheese, if you prefer)
Instructions
- The morning of the day you'd like to bake, add to a mixer bowl the active (fed the night before) sourdough starter, water, milk, oil, honey, and flours. Mix for about 2 minutes until everything is combined. Let sit for 15 minutes. (UPDATE: this is for an autolyse, which I don't do anymore – if you'd like you can simply mix all the above ingredients with the salt and then move to the next step right after mixing all together for a few minutes.)
- Add the salt (if you haven't) and mix with a dough hook for another 4-5 minutes. Cover the mixer bowl with plastic or something airtight and let rise until doubled, about 4 hours.
- When the dough has doubled, add the cheese and mix with the hook until distributed through the dough.
- Divide between two greased 8.5 x 4.5-inch loaf pans, pressing and smoothing the tops as needed (the pans should be filled halfway with the dough). Oil the tops and cover with plastic again to rise for 2 more hours or until the dough is at (or almost at) the top of the pans.
- Heat the oven to 400 degrees. When hot, bake the loaves for 30-40 minutes, turning as needed for even cooking, until browned and internal temperature is about 200 degrees.
- Cool for a few minutes in the pans before turning out onto a cooling rack. Serve warm or toasted.
Notes
Nutrition
I adapted this recipe from one I found in Discovering Sourdough Part 1, a wonderful ebook by Teresa Greenway that I recommend if you’re wanting more recipes using your starter.
More Sourdough Recipes to Try
- Easy Sourdough Lemon Bread – A Sourdough Discard Recipe
- Easy Sourdough Artisan Bread
- 35 Easy Sourdough Discard Recipes

Disclosure: affiliate links in this post will earn commission based on sales, but it doesn’t change your price. Click here to read my full disclaimer and advertising disclosure.SaveSave
This recipe has been updated – it was originally published in 2011 and updated in 2018 and 2026.

Sorry–bad result. Problem with recipe when reduced to one loaf:
The ingredient list was reduced for #CUPS, but not changed for WEIGHT measures.
I only had ONE CUP of starter, so had to do a single loaf recipe. I was doing my measuring while trying to participate in an online class–bad idea, but necessary to allow for rising time needed. The result was a dough in the mixer that was not a “batter”, it was a stiff dough. So along with the salt addition, I added another half cup of water, hoping that would be the solution. The resulting batter did pour into the pan, but the bread had to bake for 65 minutes to reach 205 degrees. Even so, it is extremely heavy and dense, very wet and the crust is too hard to eat.
Apparently, I used the Weight measurement for the flour ingredient (I usually do), but Cup measure for the liquids…can’t be sure. If I try it again, I’ll make 2 loaves and not rely on any recalculations.
I do hope you get a chance to make it with the right measurements – it really is a good recipe. 🙂
This bread reminds me of the jalapeno/cheesy bread at Wegmans that I loooooove. So, I started the dough this morning and am excited to finish it later on! Quick question, though: how might the loaves change if I use bread flour instead of all-purpose?
I’m not sure as I’ve not used bread flour with this, but I think it would be similar.
Wow. I’ve made this bread many, many times successfully which is why it made it to the site. Others have also made it with good reviews. Wonder what you did wrong?